
Sign up for our Monthly Newsletter
Watch video
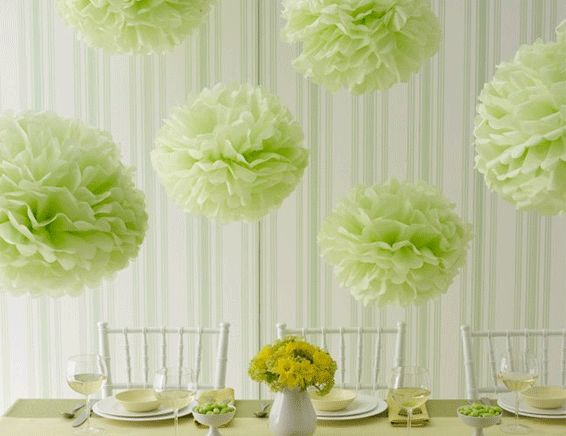
Tissue paper pom poms or kits to make them are sold online, but there is really no need to buy them when they are so easy to make yourself and look fantastic as part of a display. With this simple DIY tissue paper pom pom tutorial you can add colour and texture to any party or event.
You will need:
• Scissors
• 8 sheets tissue paper (20″ x 30″ / 500mm x 750mm)
• lenght of ribbon / string
Step by step instructions
STEP 1
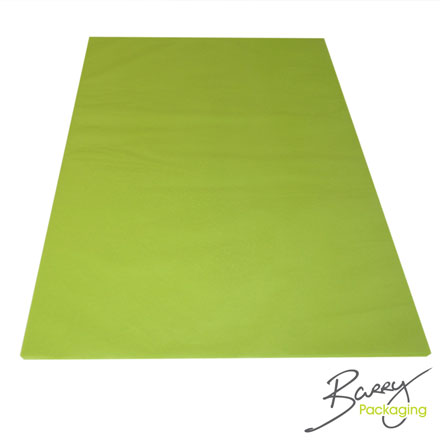
Take 6 – 8 sheets of the 20″x 30″tissue paper. Ensure all the corners of the sheets are lined up. Place the paper so that the short side is in front of you.
STEP 2
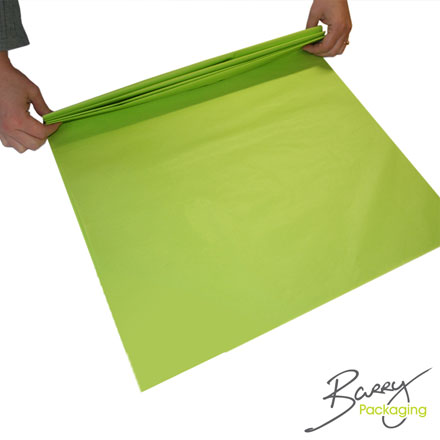
Fold the paper like an accordion making a 1 inch strip.
STEP 3
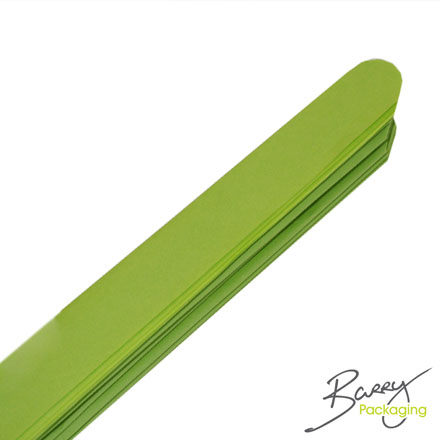
Cut the ends so they are rounded, you may need to do this in small sections. You can also trim the ends into a pointy shape to make them look different.
STEP 4
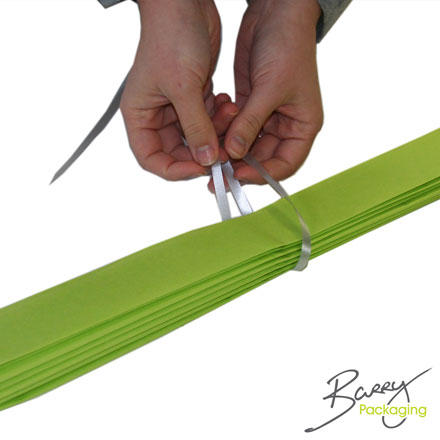
Fold in the middle so the ends meet and tie with a ribbon around the middle. Ensure one length of the ribbon is long enough to hang the pom pom.
STEP 5
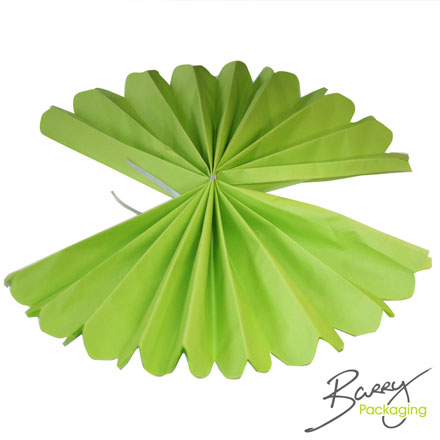
Fan both sides out.
STEP 6
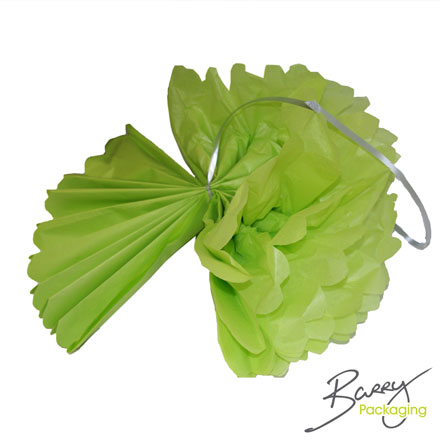
Gently pull the layers apart one at the time and fluff them out to form a sphere.
STEP 7
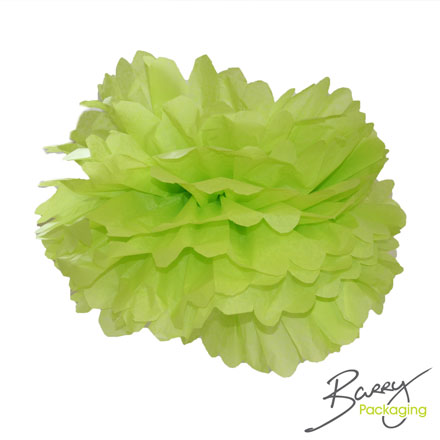
Admire your tissue paper pom pom!
MAKE YOUR OWN PAPER POM POMS!
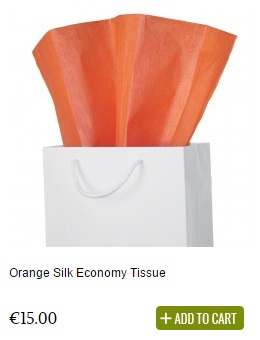
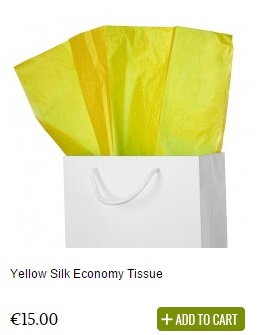
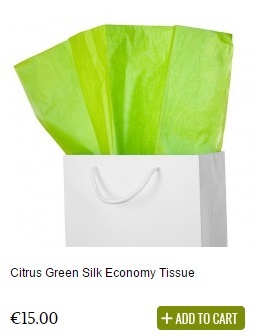
View a full range of tissue paper


